Sunday, December 9, 2012

Mod Podged Cell Phone Case

My contract was up with our cell phone carrier, so The Hubs decided he wanted me to have a new phone. 

Guess which one I decided on?

The Samsung Galaxy SIII. 

We got lucky and got this for a good price. I just couldn't pass it up!

Ain't she pretty??
 (Samsung Galaxy S3 in Pearl Blue)


She (should I name her? LOL) is so pretty, I hate to put a case on her and cover up all this shiny-ness. But we all know, we need our phones in cases just in case we drop them. Right? So I decided to pretty-up my ugly, grey case.  With the help of some Mod Podge. (this stuff is awesome!)


I assembled all of my supplies....


and got to work.....


....tracing, trimming, and trimming some more until I got the paper just the right size.  

Then I used a foam brush to spread some Mod Podge Hard Coat on the case. Then a little on the paper. Laid the paper on the case, and spread all the bubbles and creases out the best I could.


I set it to the side to dry, rinsed the brush and started another load of laundry. (always laundry to do, huh?)  I came back and spread some more MP over the paper.  Then set it aside to dry. Again. 

Don't forget to rinse your brush!! 

I probably put 4 coats of MP on the paper. 

 If you have worked with MP, then you know you have to let the object you are MP-ing dry in between coats.  At least 15-20 minutes. I am an inpatient person, so this is hard for me. But, well worth it in the end!!
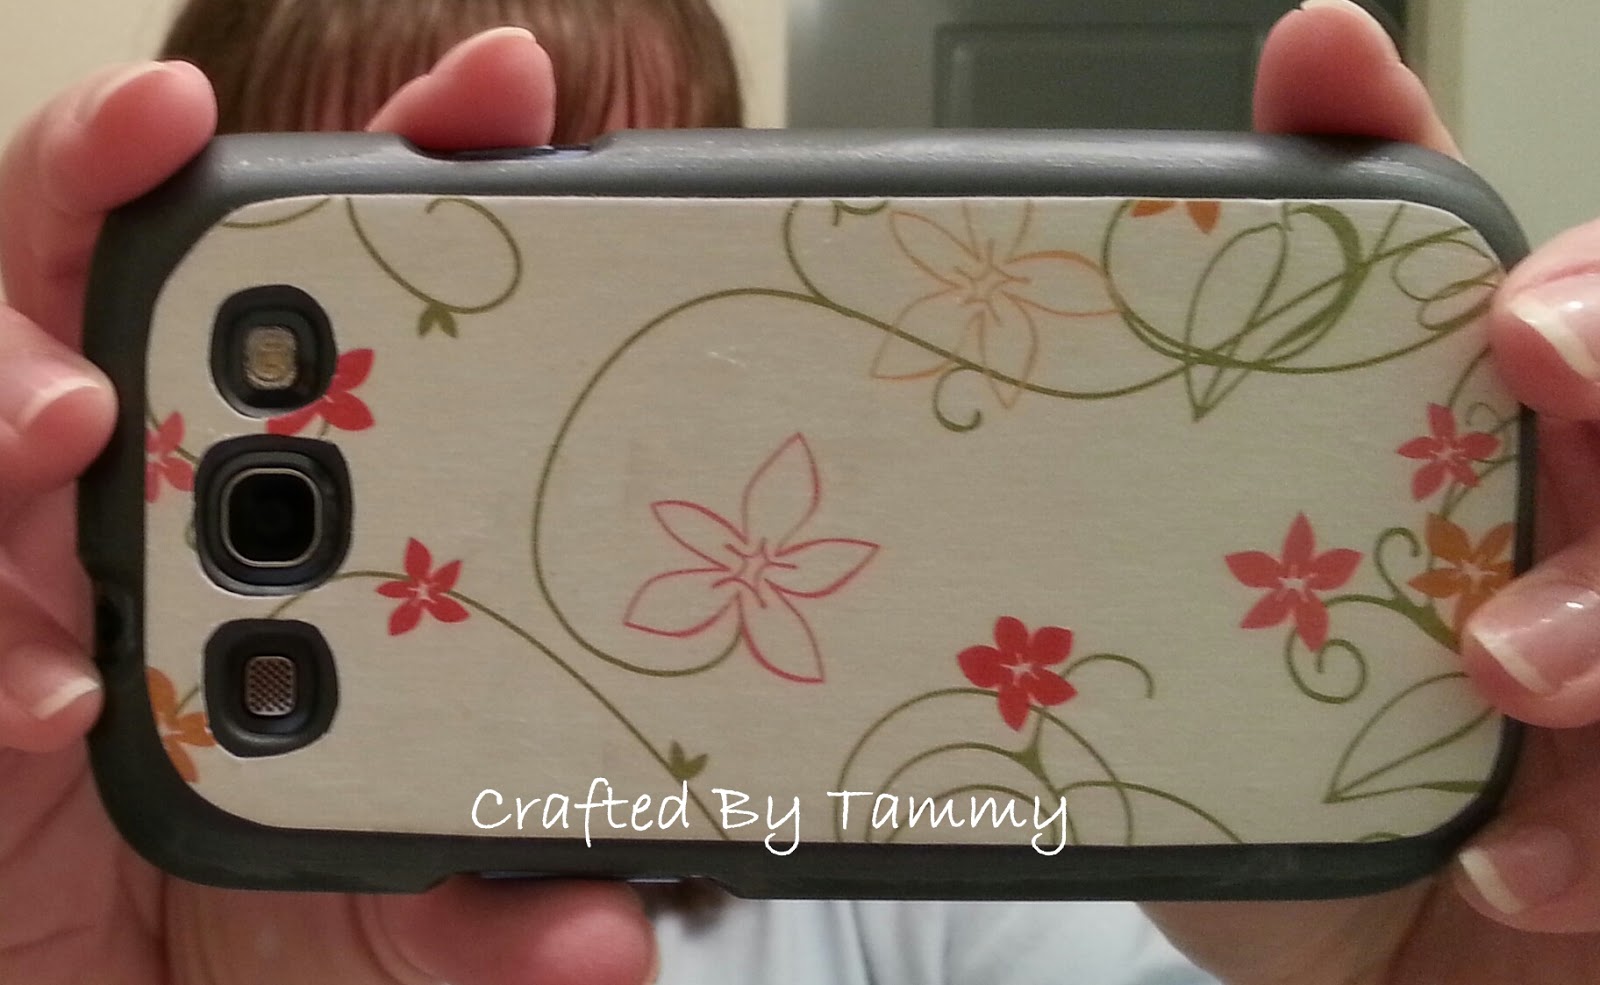

See, she is still pretty, just in a different, not shiny way. :) 

Note: if you look closely at the top of the paper, you can see the MP on the case. I just scraped it off with my fingernail. Not all at once. Over the space of a couple of days. 


Saturday, September 22, 2012

Panda Card

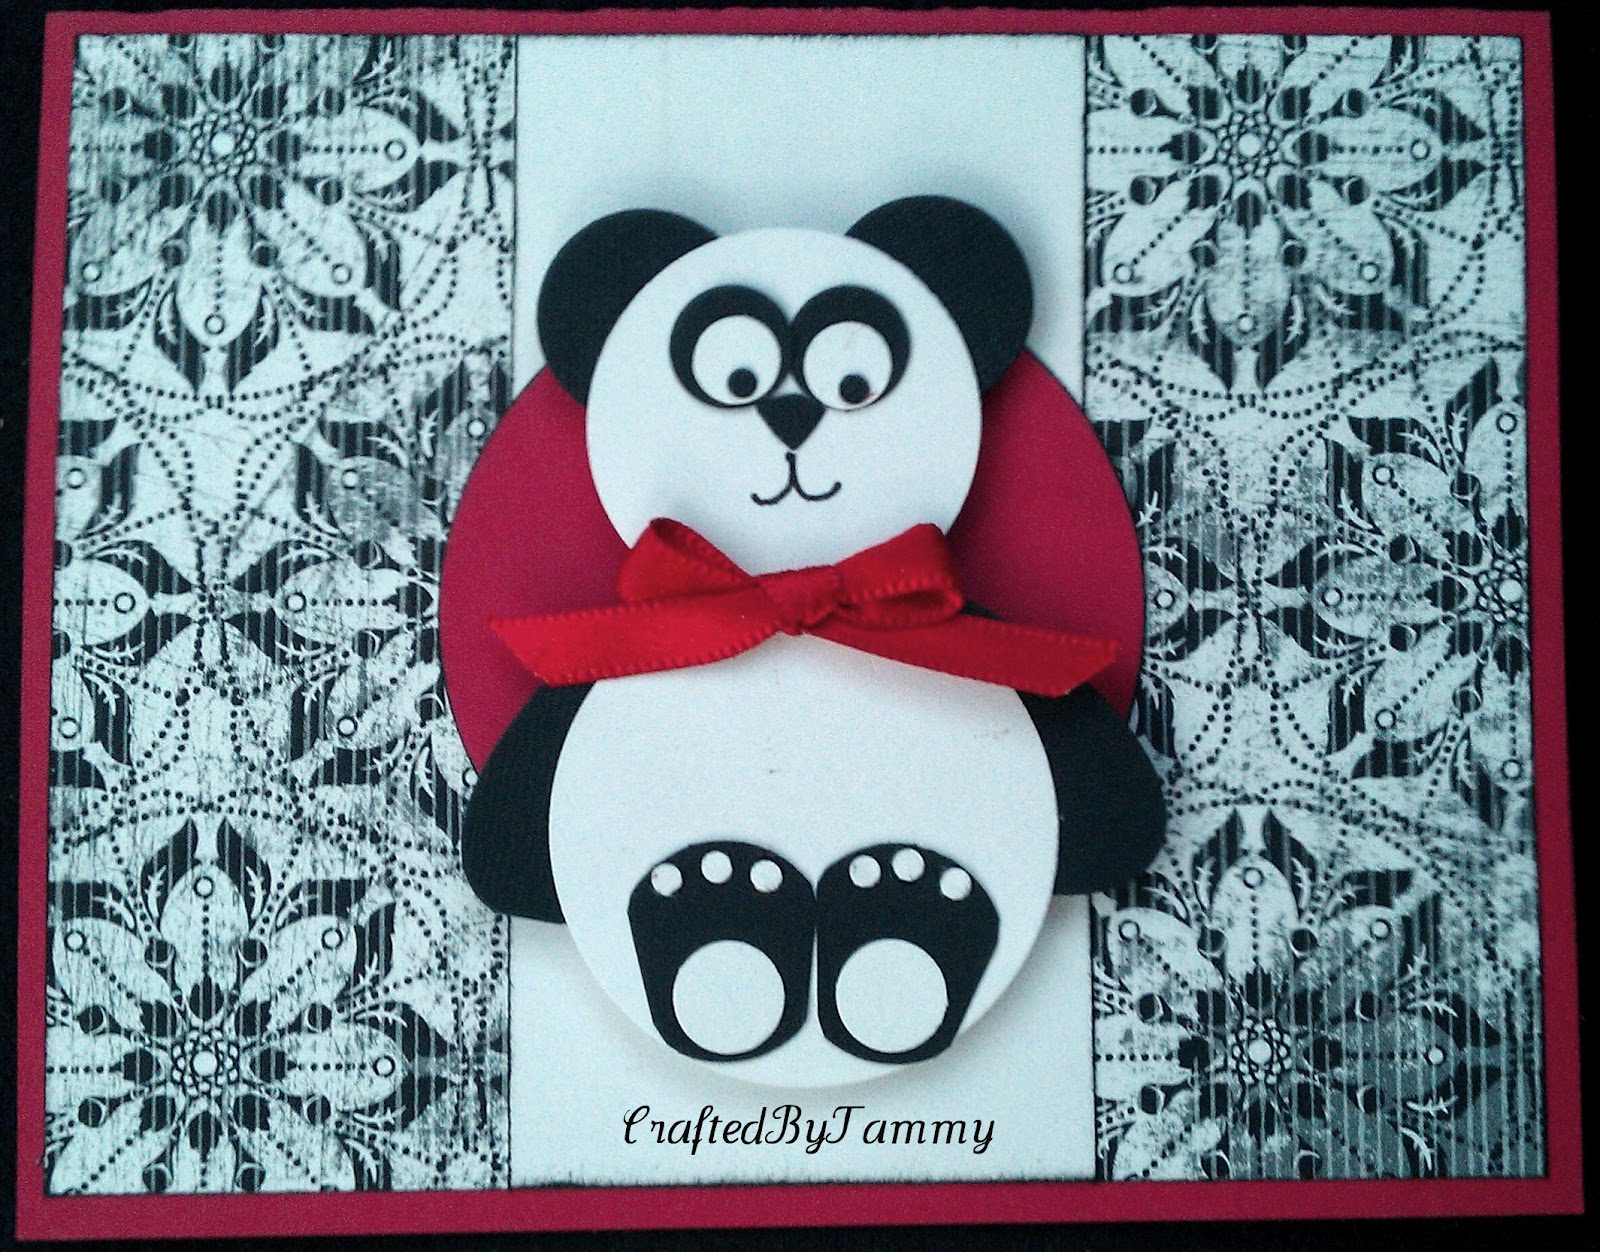
I had a request for two cards. She asked if I could do a back to school theme as they were for her assistant teachers in her classroom. She said the colors were red and black, and the mascot was a Panda.

Hmmm.....I couldn't come up with a back to school idea, so I just went with a panda. I searched the internet for some punch art...cause you know you make just about any animal with punches....put some of the examples I found together and came up with this little guy....


Then I got to work making my friend 2 cards to welcome her assistants to the classroom.


 (it is so hard to photograph the color red)


This one is my favorite of the two.


Stampin UP! Supplies
Punches - circle, oval, Owl Builder
Designer Paper - Night & Day
Craft Store Supplies
Cardstock - black, red, white
Ribbon

Tuesday, August 7, 2012

Baseball in a Picture Frame

Baseball in a picture frame??

Yep, you read that right!!


My aunt asked me to help her with a project her co-worker had told her about. 
I wasn't one to say "no" at a chance to get crafty.

So she came over and we got to work.  She took a box cutter and ran the blade thru the middle of the stitching on the ball.  Then she peeled back the leather to expose the inside of the ball.

(behind the ball in the package you can see what the ball looks like after it has been peeled)


We then printed out the saying on the computer.  We used a couple of different fonts and sizes so she could decide what size she wanted.  We cut and rounded the corners of some cardstock, then layered and glued those together.


We arranged the leather in a cross, and used glue dots to hold it down on the black cardstock.
Then glued the quote down.


Here is the finished project.


Everyone commits errors. . . 
but His sacrifice 
will bring you home.


Stampin UP! Supplies
Punches - corner rounder
Cardstock - Real Red, Ivory
Craft Store Supplies
Cardstock - black


Thank You Cards

I made these for a friend. She requested 6 Thank You cards. 

I challenged myself to make 6 different ones. I like how they turned out.

I have tried to make two different cards with this Raspberry Lemonade DSP, and have failed miserably both times.  This paper is just to "busy" for me I guess.  But I really like how these cards turned out.  The smaller cuts of paper work great for these layouts I think. 


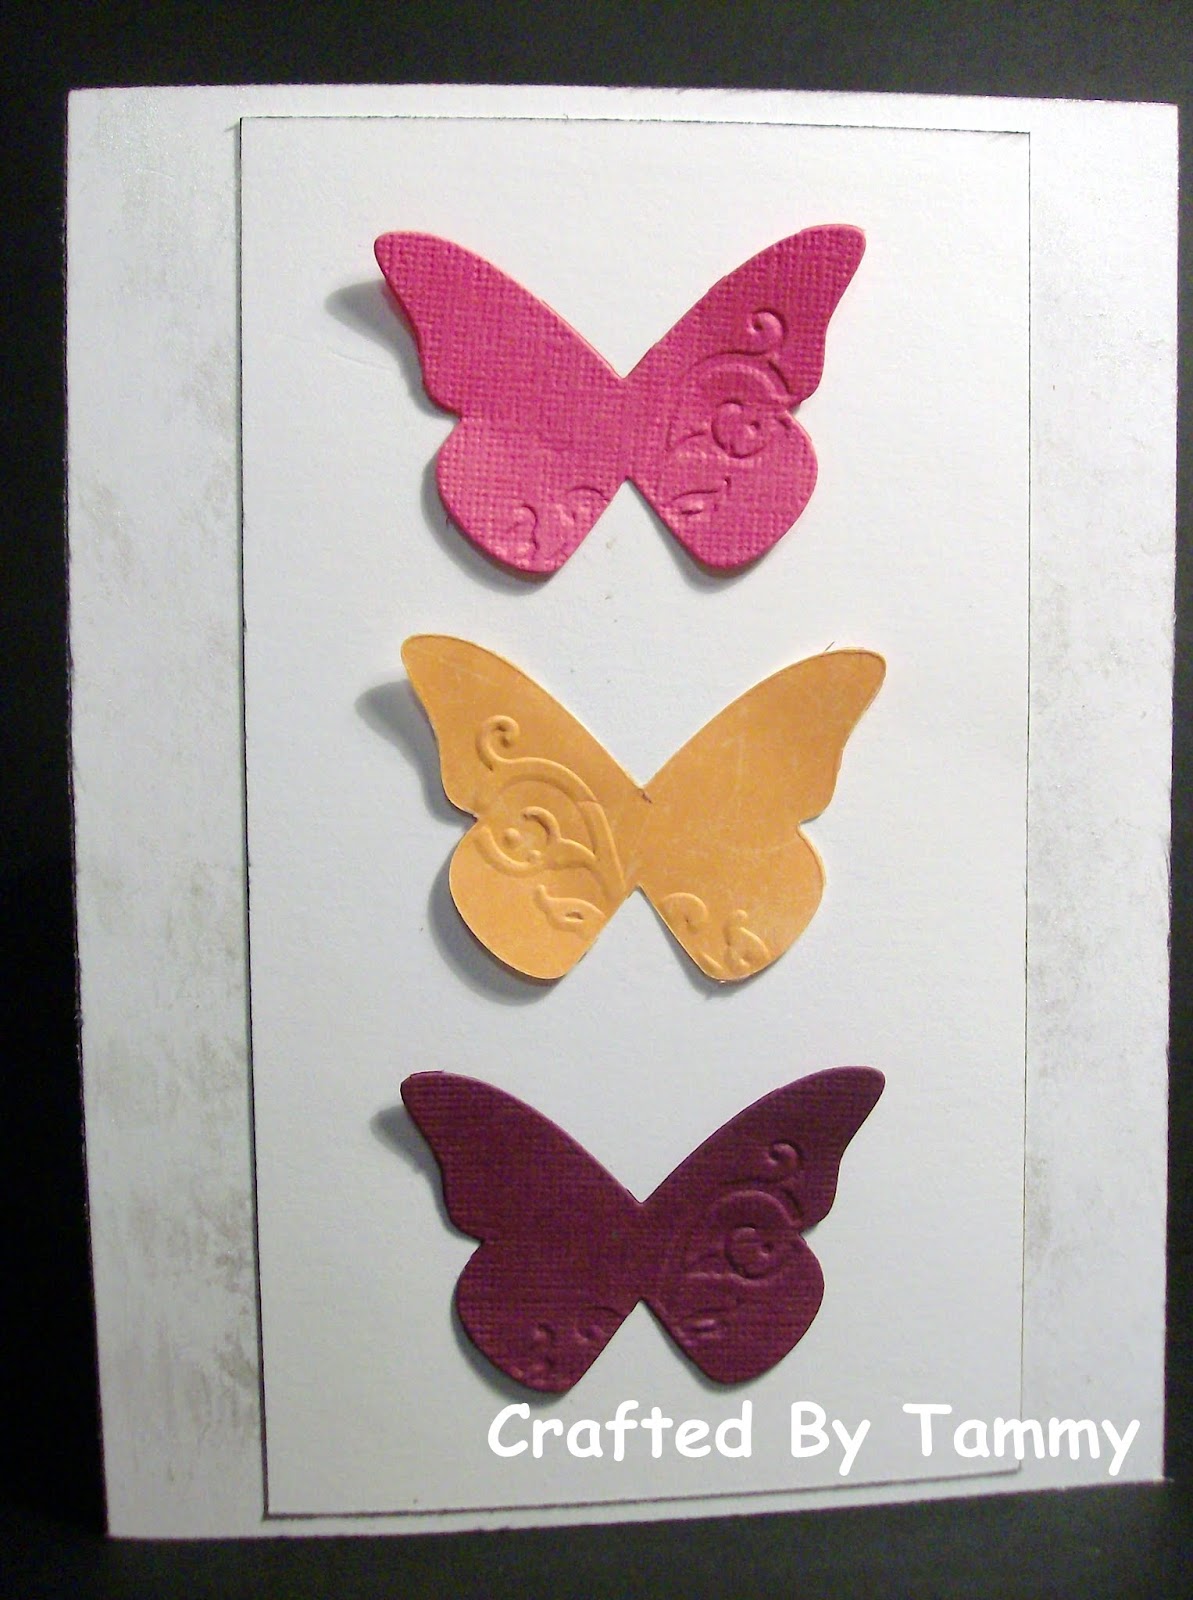
The butterfly card has some shimmer dabbed on the card base.


These strips of paper were cut with my paper cutter.


A square punch was used on this one. I wished I had used a dimensional under the butterflies. Next time!


I cut circles of cardstock to glue behind the lace ribbon. I think these two are my favorite. 


A whole set of Thank You's. 


Stampin UP! Supplies
Stamps - Thank You Kindly
Punches - Lace Ribbon Border, square
Paper - Raspberry Lemonade DSP
Cardstock -  Melon Mambo, Rich Razzleberry
Embosslits - Beautiful Wings
Craft Store Supplies
Cardstock - white
Tools
Big Shot


Wednesday, July 18, 2012

Baby Shower Card - Converse Style

Sometimes I see a card, or scrapbook LO, or any project in general, and am just blown away by the creativeness of the person who made it. The original poster of this card got the idea for a Converse style sneaker card from a sketch. You can read her post here Converse Sneaker Card .

And here is my CASE (copy and share everything) of her card -

(I forgot to crop my picture)

There were no details on the original blog post, so I just winged it.  I laid the ruler on the card and moved it around until I got the angle "just right". I used the ruler for a guide to "stitch" with a white pen. My ribbon shoelaces didn't turn out the best. Practice makes perfect though, so I am going to make a few of these and keep them on hand for future showers or birthdays.


I bet a pink one with some bling or glitter would be adorable, don't you??


I used Stampin UP! punches and the star stamp came from a set that I can't remember the name of, sorry. The paper, letter stamps and ribbon was all bought locally.