Monday, October 27, 2014

Monday Musings for October 27, 2014

Here I sit, at work, with work stuff to do.
Yes, I will do it. Just putting it off until after lunch.

It won't take an hour. Then I will sit here some more. Until time to go home.

That's the way it is this time of year when you work in agriculture.

Well, in an office anyway.

The farmers are still in the field reaping what they sowed. :)
Corn is done. Beans are being harvested now. And cotton.

I miss my days at the cotton gin.

And our portable mini golfing days are over. Until next year.

Portable mini golf? Not heard of around here.
Not sure about other parts of the country.

The Hubby built it last winter. And we used it this summer.
At every small town festival we could.


Here it is stacked in the trailer. The Hubby unloading while I take a picture. 

(I quickly took this picture and got to work helping him.) 

These are made out of treated plywood and decking boards. 


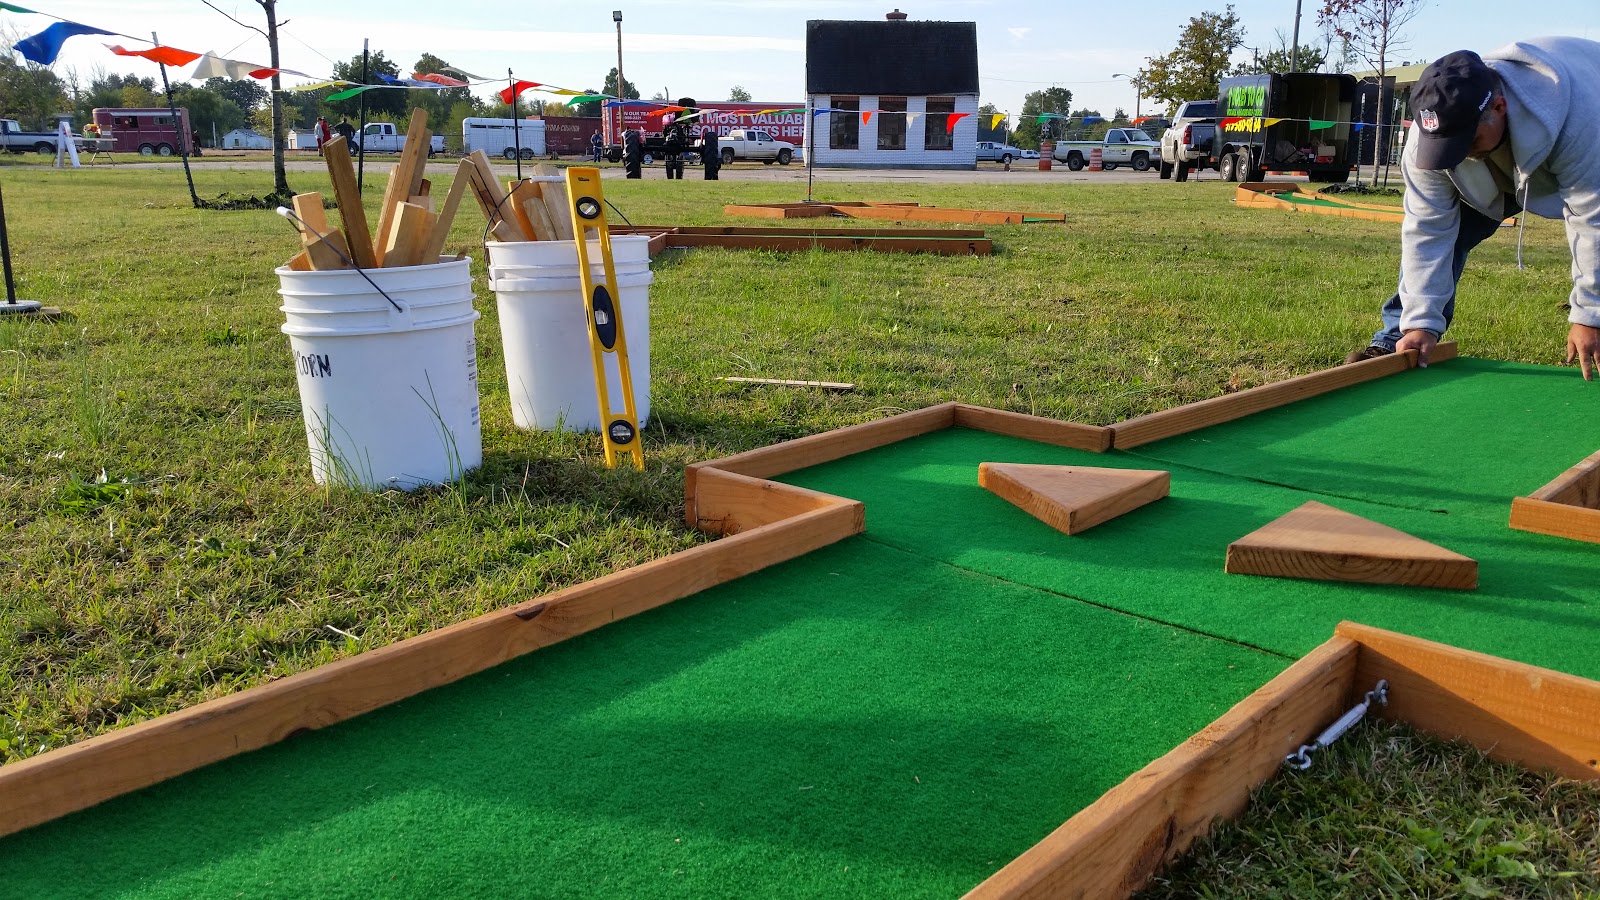
They have to be shimmed and leveled as best as he can get them. 

I

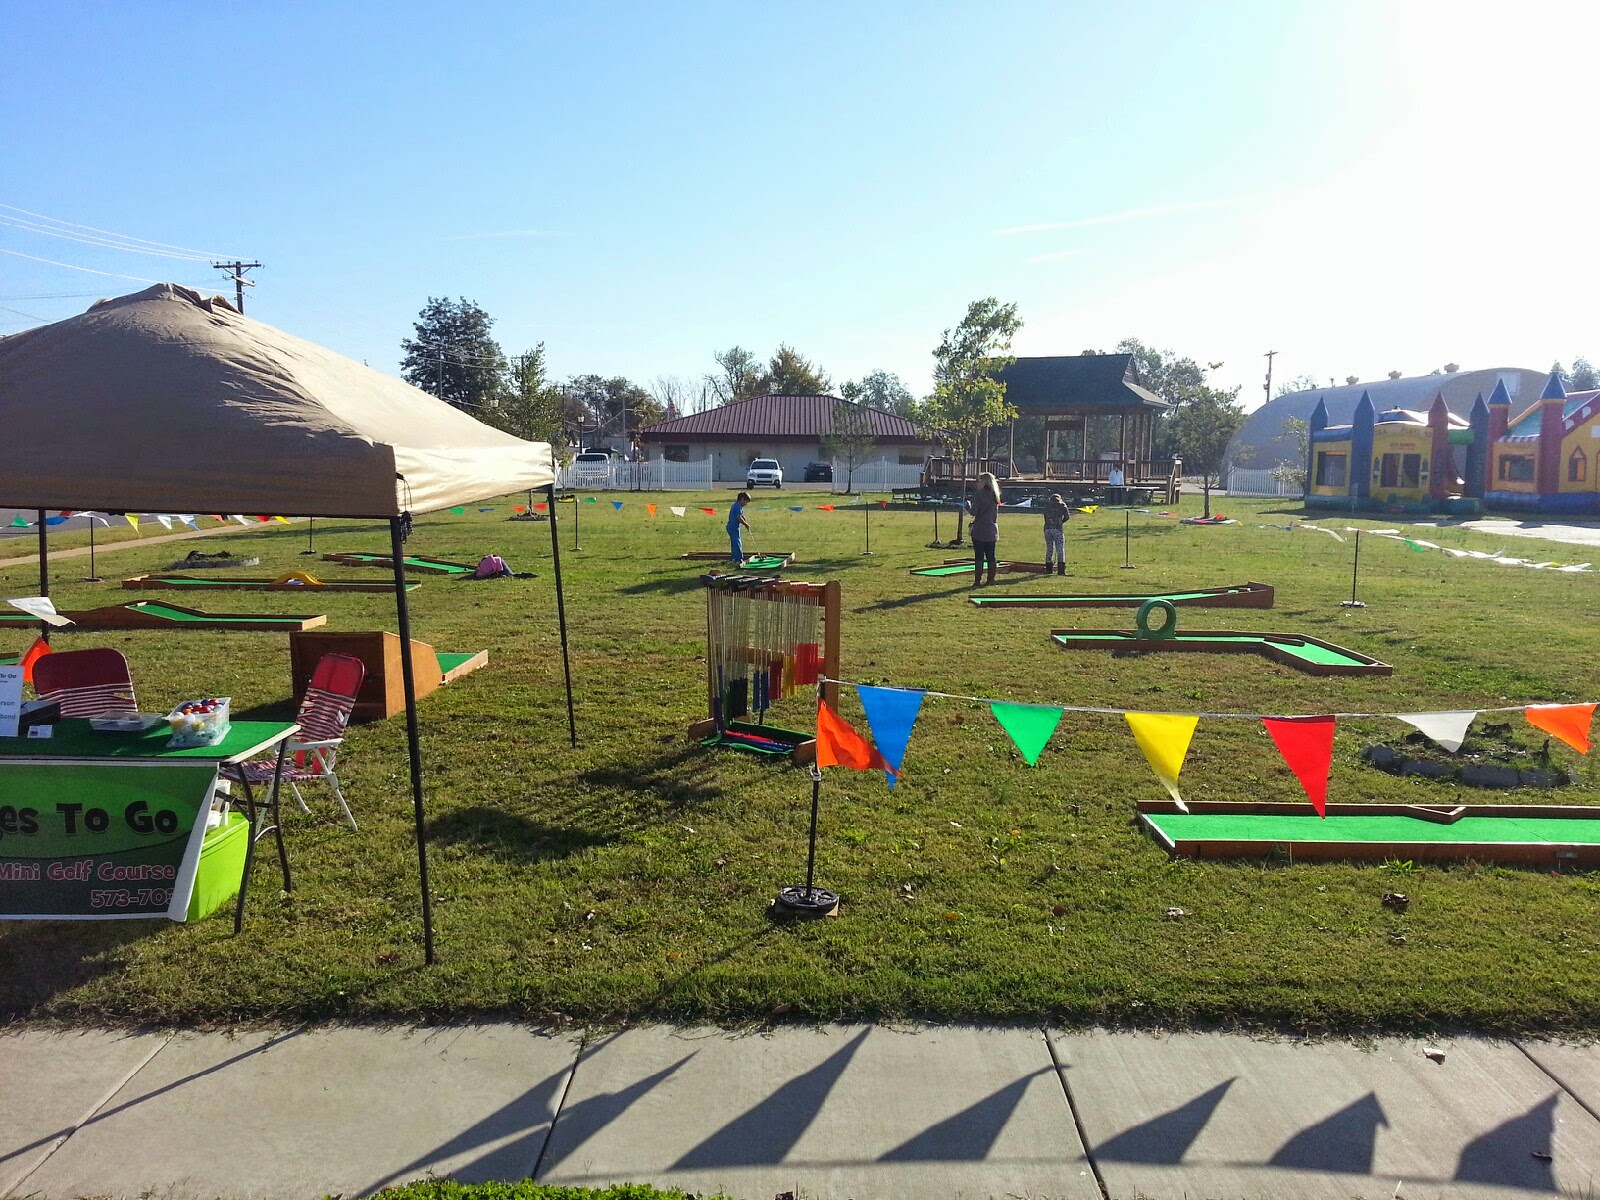
Ready for some putt putt??

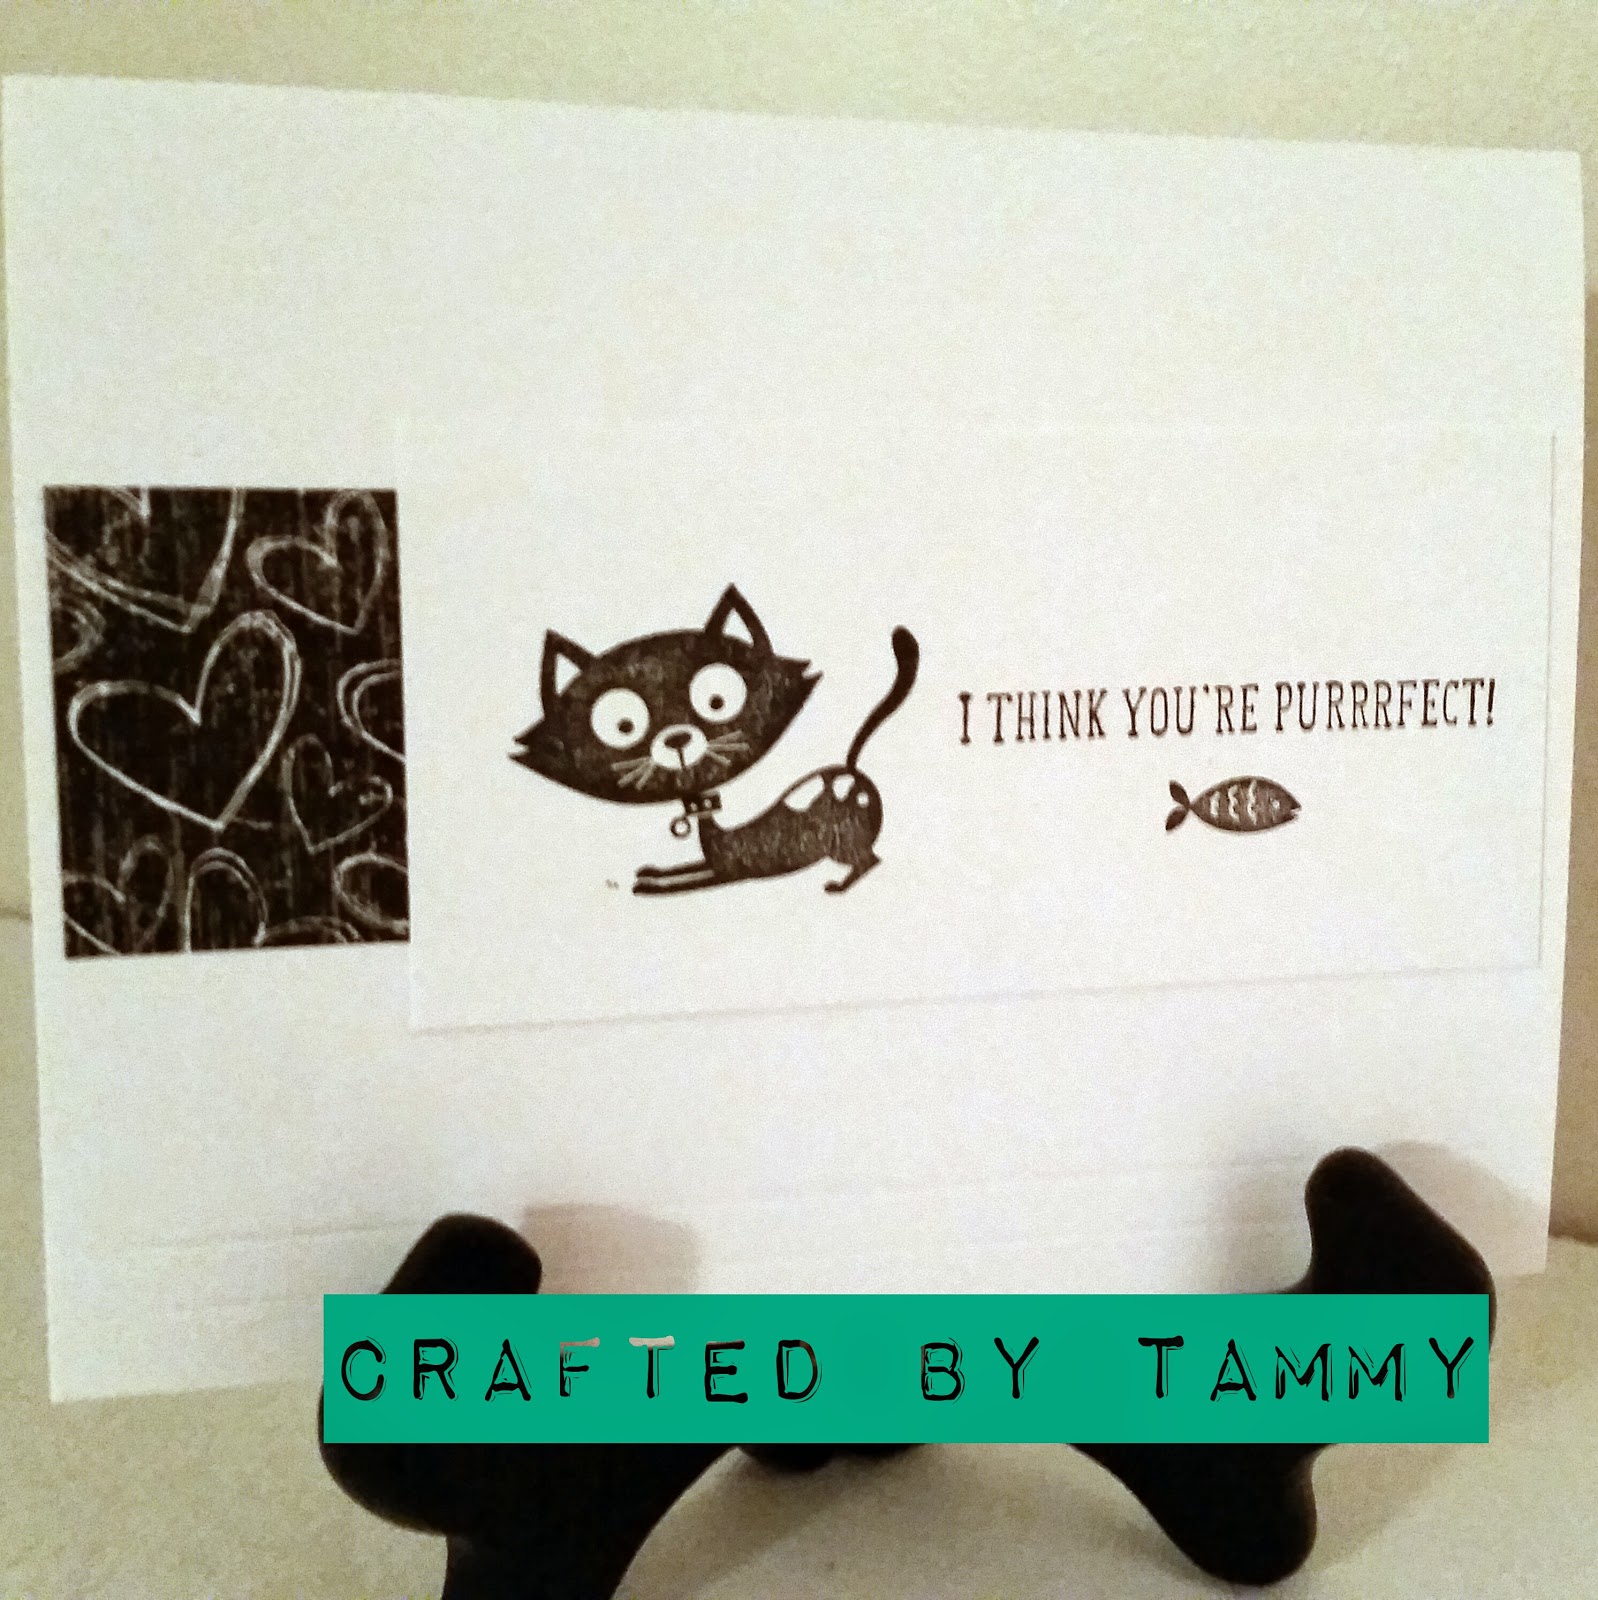
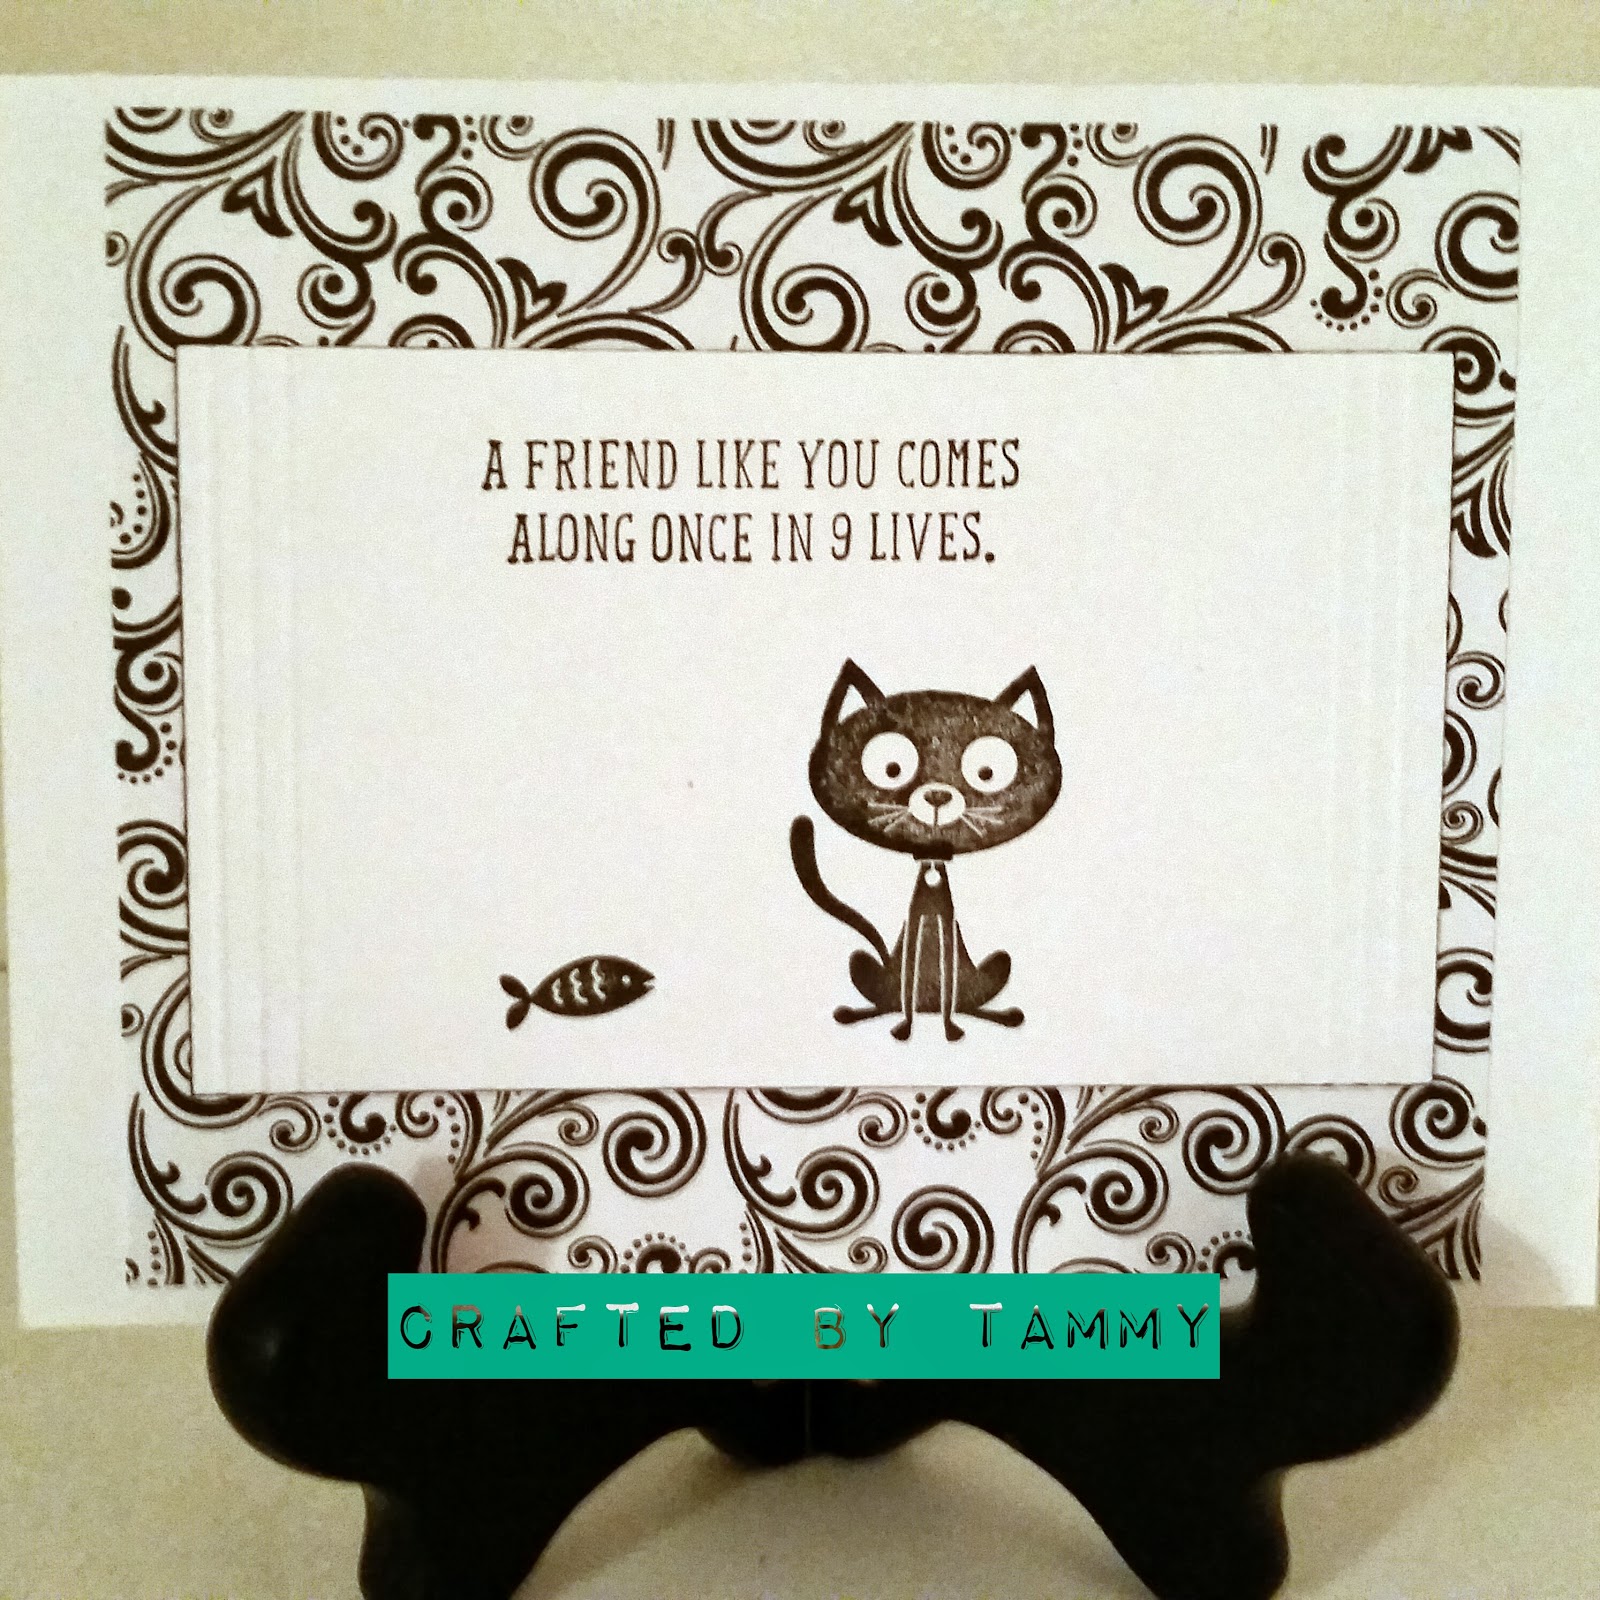
This little venture sure has kept us busy this summer. 
So busy that I have not been able to play with my Silhouette Cameo. 
*insert pouty face*


I am hoping to change that this Winter!! Along with The Hubby's help. 
Hey, I helped him, now he has to help me. Right?  
At least, mine won't be soooo physically involved! LOL


Well, that's a wrap for this episode of Monday Musings. 
Will there be one next week? 

:)


Friday, October 24, 2014

Cute Cards for Cat Owners

Well, I didn't make a post on Wednesday as I said I would on Tuesday. Sorry about that. :)

I was in meetings for work on Wednesday and Thursday. Meetings that were 4 1/2 hours away from home. I fully intended on blogging from my phone, that is why I posted that I would post again on Wednesday. Cause I knew I would have some downtime in my hotel room. Well, it didn't work out that way. (does it ever?) Along with internet issues, meeting up with friends and making new ones, time got away from me....

So here is my post that I planned on posting, along with some changes. 
*Although you wouldn't have known that if I hadn't admitted to it, LOL.*


Here are a couple of more cards that I made for the fundraiser for the local humane society.

This one has just a small piece of patterned paper on the left side of the card. I really just "eyeballed" the size of the white card stock with the stamped image. 


Don't you just love that cat??!! So cute!

This little cutie is just as easy. (see a theme here) 
Simple. Quick. Easy. No fuss.

I added a little extra to this card stock with the stamped image. I added 3 score lines to the sides. 
I wanted this one to show more of the patterned paper. So I cut it into a square versus a rectangle like the stamped/scored image.

* I really like that paper *


I got my inspiration from Get Inspired Crafting with Joanne


Hopefully on Sunday I can get back here and show off a few more cute cards.

And eventually a bird.

And a frog.


Have a blessed and crafty day!!


Stampin UP! Supplies
Stamps - Hot Diggity Dog
Ink - Basic Black
Craft Store Supplies
Cardstock - white, patterned paper
Scoreboard


Tuesday, October 21, 2014

Cute Cards for Dog Owners

Our local humane society invited everyone to set up a table or two at their place so they could have one big yard sale. Monies collected from table rentals went to the humane society.

I couldn't participate because of a previous commitment, so I asked a friend if she would set some of these cards out and try to sell them. She could keep whatever money she collected from sales to help with the heart worm treatment for dog she is fostering.

Here are a couple of the cards that I made. 

I got my inspiration from Get Inspired Crafting with Joanne .


These are so simple to make. Layer a piece of pattern paper that has been cut to fit your card. I like to offset the patterned paper to show some of the white card stock. The patterned paper acts as a border of sorts and helps your stamped image stand out. 

Then stamp your image onto white card stock. Cut the card stock in a square or rectangle. What ever shape looks best for your image. Then layer that on top of the card. 


There are countless number of ways to layer your papers and card stock. I will have a couple of more examples to show you tomorrow. 

Have a blessed and crafty day!


Stampin UP! Supplies
Stamps - Hot Diggity Dog
Ink - Basic Black
Craft Store Supplies
Cardstock - white, patterned paper