. . . and it did not turn out like I planned. Meaning, this blog.
What does? :)
I really wanted to do more with this blog, but life events got in the way. I don't see any of that changing for a while. I changed jobs and just don't have the time to dedicate to the blog like I want. And I started going to to church regularly.
*sigh*
Although, I have done a little more with my card making. Having had two, albeit small (very), booths locally to try to sell some cards. I sold a few. You know, 4 or 5.
Between the both of them.
*sigh*
Then getting ready for "Make Gift Tags and Cookie Swap" at church where we (myself and 2 other friends) made some sample tags and then whomever showed up got to try to make them. Oh my! What fun! We plan on doing it again but with a Valentine Day theme. Looking forward to that!! Anyway, that took a few weeks to get ready for that. A few weeks?? Yes. Remember my schedule change. . . . I have no free time now.
So, I am still here. Working, playing, enjoying life. 2011 was good to me. Looking forward to 2012. :)
Wednesday, December 28, 2011
Friday, October 7, 2011
Either way, it's a winner!
This first card is one I made at a Stamp A Stack. (all supplies are SU)
It's a nice, simple card for a guy in my opinion.
Unless you have a girl that is into motorcross. Which is totally possible.

This next card, I changed the stamps and the layout, but kept the colors.
And now, I think it can be for a female. :-)
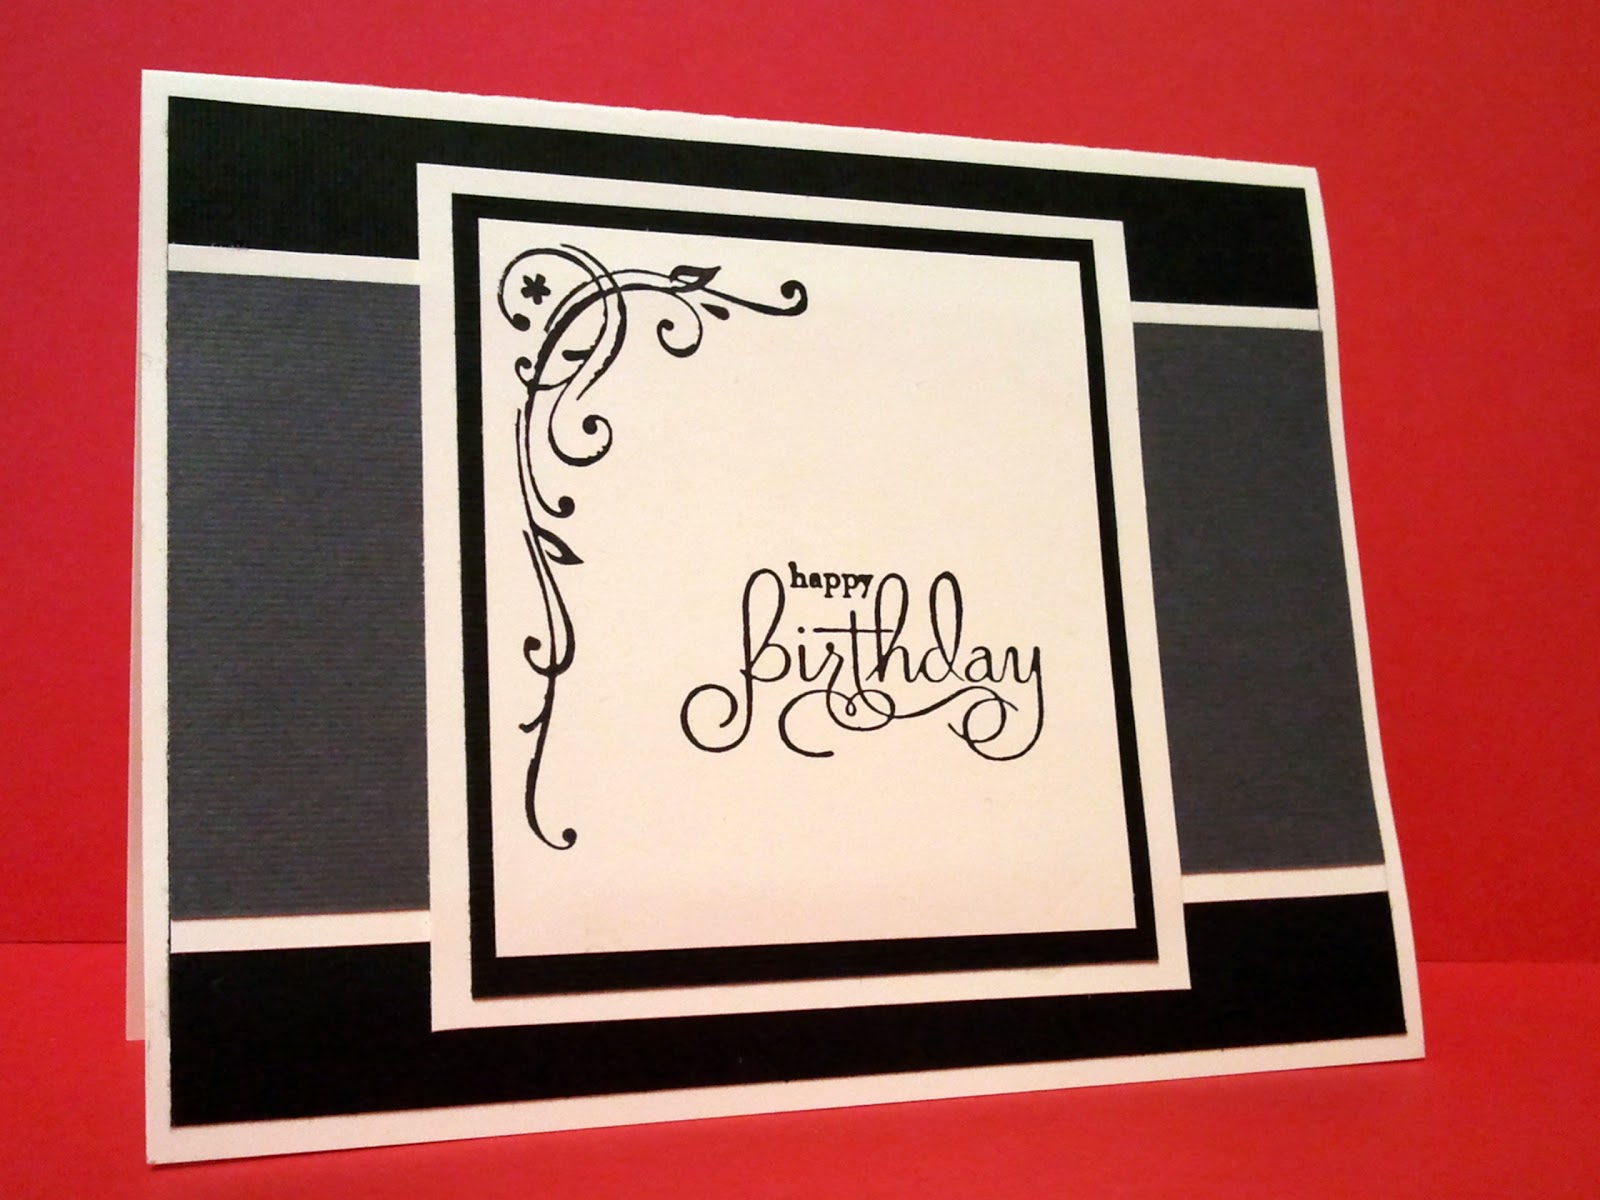
I thought using a red background would be ok. Obviously not. Sorry.
Lessoned learned.
Stampin UP! Supplies
Cardstock - Very Vanilla
Ink - Craft Basic Black
Stamps - Yummy
(I don't know the name of the sentiment stamp set on the second card, sorry)
Craft Store Supplies
cardstock - grey, black
Wednesday, October 5, 2011
A visit to Michigan to deliver a graduation card
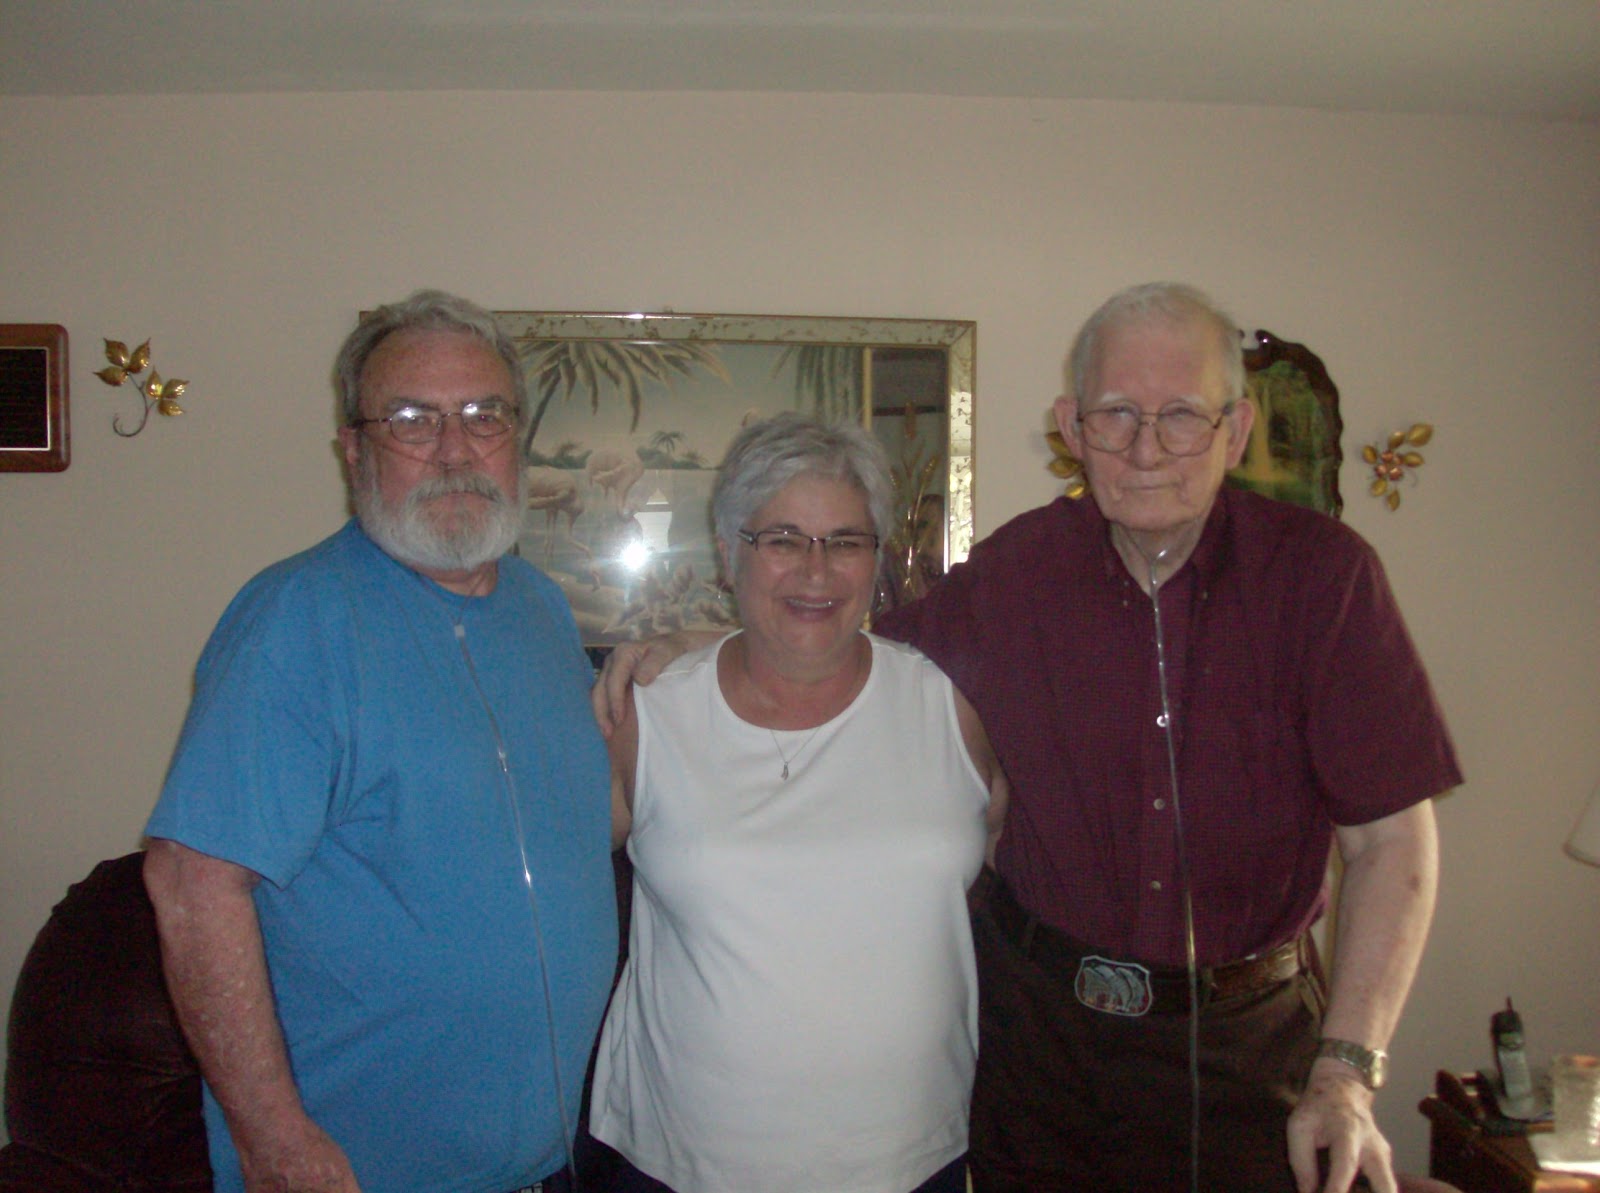
No I didn't really travel 650 miles to deliver a grad card, LOL. But my husband and I, along with my aunt and her husband, traveled in July to visit my uncle and his family in Michigan. We timed it to coincide with my cousins daughter's grad party. Which, I won't do next time. I mean, so glad we went, no regrets there. But having a grad party with us visiting put more stress on my cousin. I got to meet my Great Uncle Lindsy and his family, he hasn't seen me since I was 2.
Uncle Billy, Aunt Kitty, Great Uncle Lindsy
(my mom's brother, sister and uncle)
from left to right Lisa, Me and Lori
(Lisa and Lori are sisters, Uncle Billy's daughters)
I love these girls!!!!
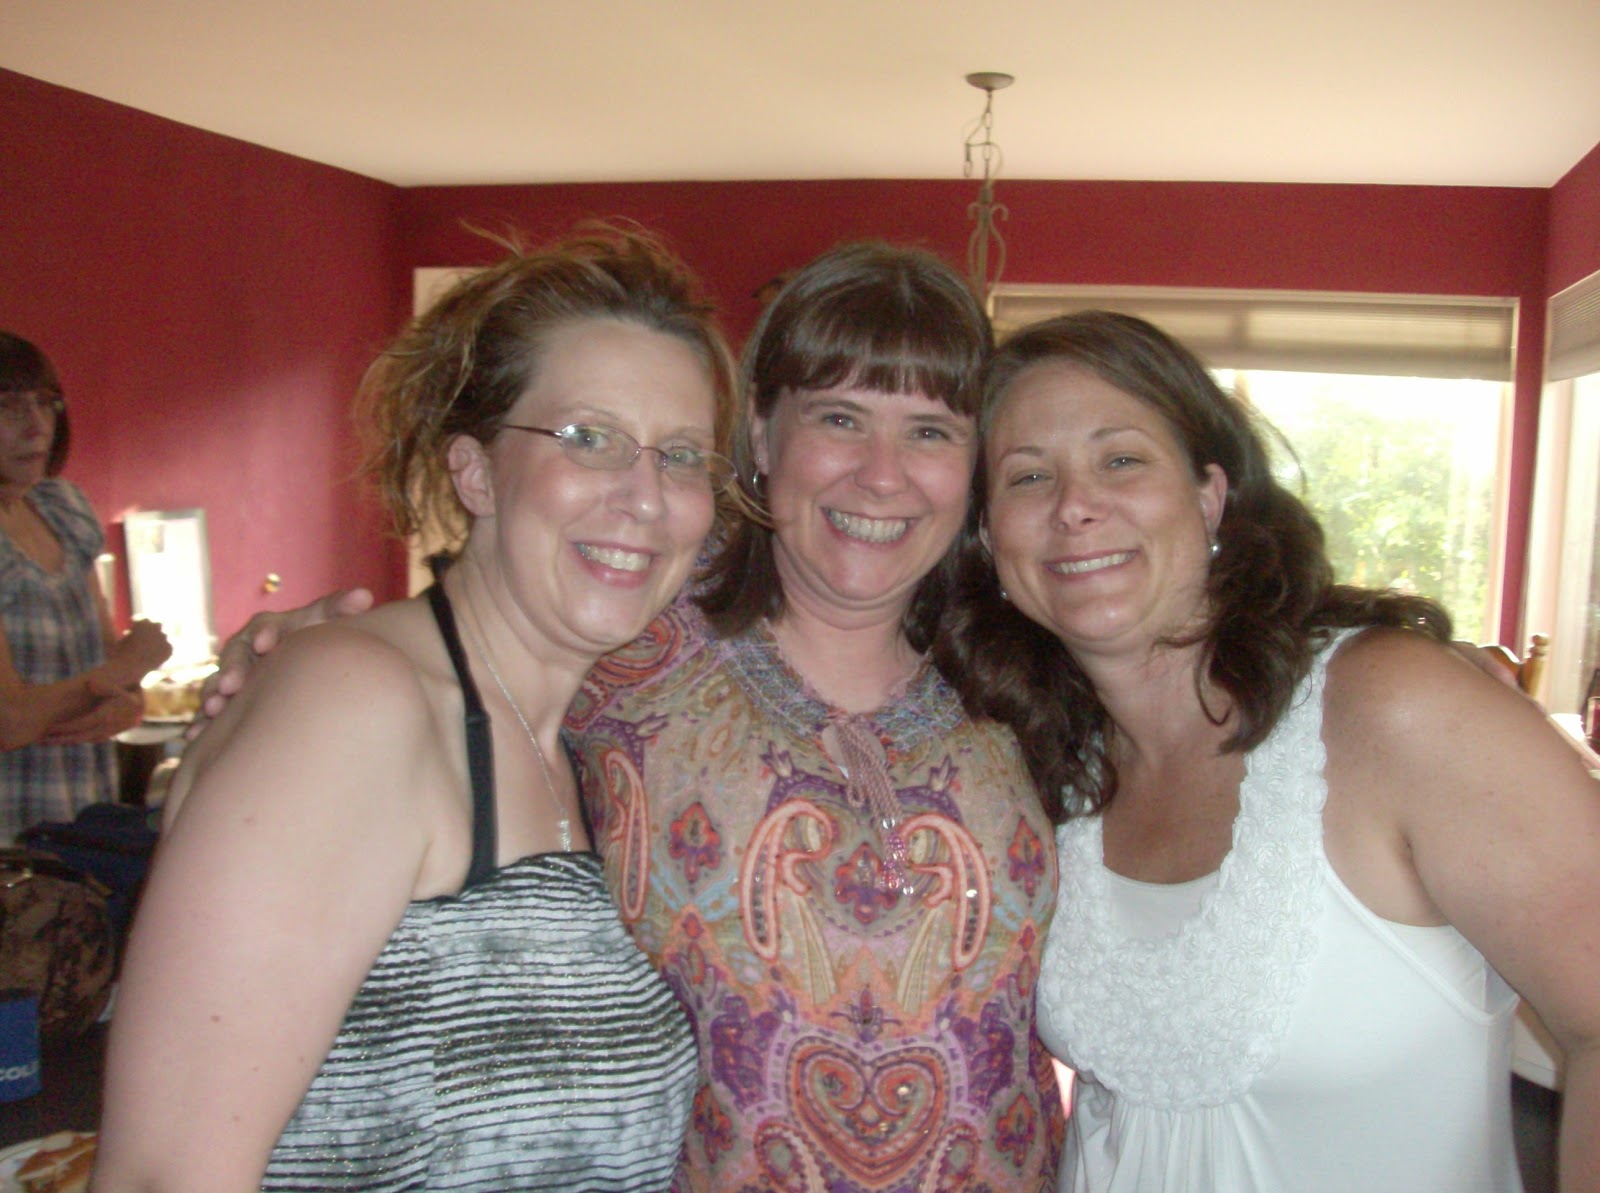
Lisa's daughter is the one that was graduating from high school.
Thanks for letting me share. Wonderful memories were made that trip. I hope to make another trip in a couple of years. My family is so large, and so spread out across the U.S. that it will take a few years to be able to travel and visit everyone. Which is what I plan on doing! LOL
Here is the card I made for our graduating young lady........

A little detail never hurts.
(on the inside)
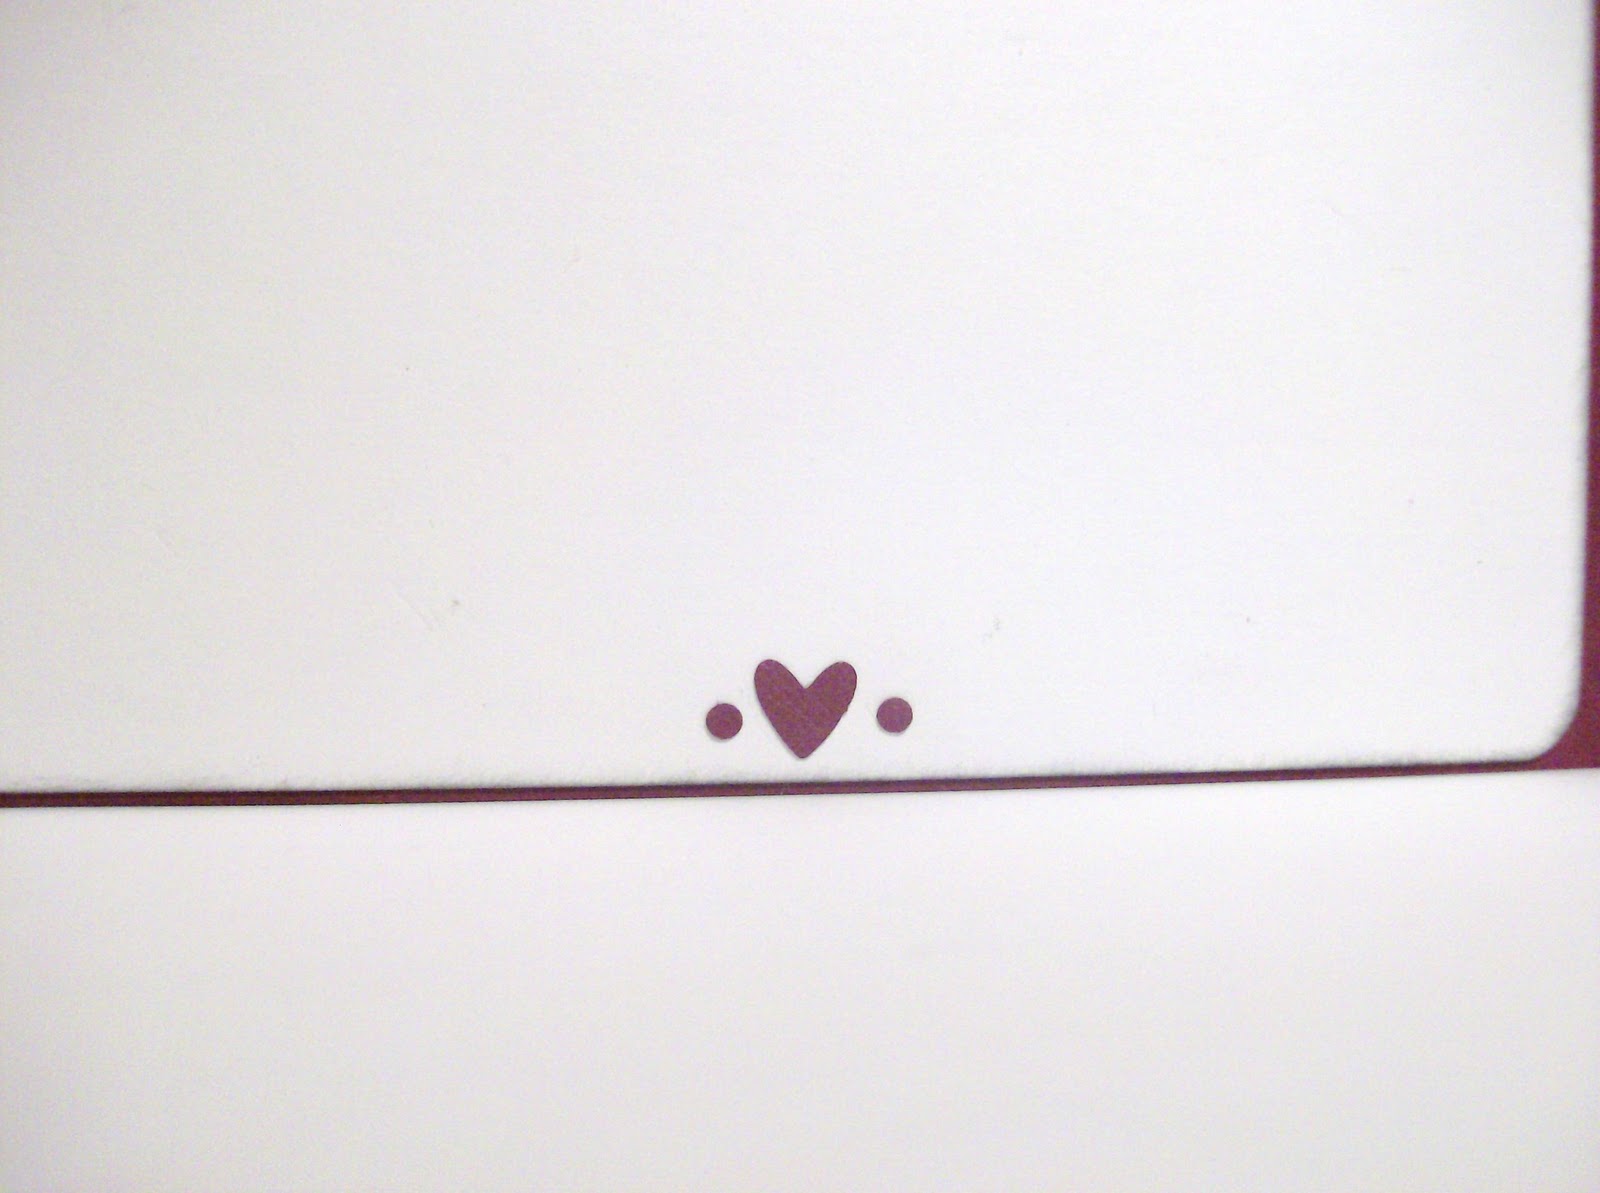
Congratulations Taylor!
Taylor on the left, with her cousin Makenna.

(they both look like their momma's don't they?)
(Taylor belongs to Lisa, Makenna belongs to Lori)
Stampin UP! Supplies
Cardstock - Rich Razzleberry
Ink - Basic Black
Patterned Paper -
Tools - Owl Punch
Craft Store Supplies
cardstock - white, grey, black
Tuesday, October 4, 2011
Fill in the blank -
A bad night of card making is better than _______________.
I finally get back to making cards, getting out of the slump I was in, and I mess two of them up. Yes, I can hide the mistakes. But still. I was looking forward to getting all inky, and then.......... *sigh*
I will tell you that I made a male card into a female card. So proud of me! I will post it Thursday night.
Tuesday, August 2, 2011
Sunday, July 17, 2011
Happy 1st Birthday Kolton
Happy 1st Birthday Baby K!!

This is my mom's brother holding his great grandson.
Well, trying to, he sure was squirmy, LOL.
Had a great time with my family Saturday.
I wanted the 1 to stand out more so once I had the papers glued together, I took the Old Olive marker and traced inside the 1. I went around a couple of times to make it darker. I used it on the edges of the initials also. The edges of all paper and cardstock were inked.

(his intials are KWG)

Cute card for a cute little boy!
Stampin UP! Supplies
Cardstock - Not Quite Navy, Very Vanilla (inside)
Ink - Old Olive
Marker - Old Olive
Patterned Paper - Petals & Paisleys
Craft Store Supplies
green cardstock
Cricut and Platin Schoolbook cartridge.Wednesday, July 13, 2011
Join me over at Not Just Paper and Glue
Today, I am guest posting at Tammy's blog Not Just Paper and Glue. She has posts about internet stuff, flower tutorials and homemade bread. Go check her out!! You will be glad you did!
Now, if you are visiting from Not Just Paper and Glue, thanks for stopping by! So glad to have you here! Please browse thru my past posts, and check out my cards. I am all about simple, versatile layouts on my cards.
Thanks for stopping by, have a great day!!
Now, if you are visiting from Not Just Paper and Glue, thanks for stopping by! So glad to have you here! Please browse thru my past posts, and check out my cards. I am all about simple, versatile layouts on my cards.
Thanks for stopping by, have a great day!!
Friday, July 8, 2011
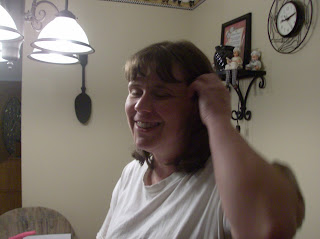
Sleepy
(hopefully I don't crash the internet by posting a picture of myself.)
Sometimes I need another set of hands. How about you?
Hubby snapped a pic of me the other night while he was helping me take pictures.
Sometimes I need another set of hands. How about you?
Hubby snapped a pic of me the other night while he was helping me take pictures.
*WARNING *
Don't look too closely. Put your blinders on. Forget you ever saw this.

(not very flattering)
What can I say? It was late. Yes, late. It was after nine.
Yes, I said nine. Don't judge. I like my sleep.
(Are we still here. I didn't crash the World Wide Web did I?)
Tuesday, July 5, 2011
A Challenge
Sympathy cards and masculine cards are difficult for me to make. How about you? What do you find challenging to the point of screaming in frustration?
(did I just admit to that?)
I like the layout and the colors on this card. I think it fits well for a sympathy card. But, something was "off".
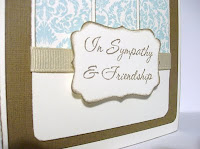

*sigh* I do believe that is much better.
I started off stamping the sentiment and punching it out. I wanted just a little color to define the edges of the patterned paper, so I just ran the edge of the paper over the ink pad.


(did I just admit to that?)
I like the layout and the colors on this card. I think it fits well for a sympathy card. But, something was "off".
(Rough Draft)

So I changed the ribbon, and sponged the edges of the cardstock.
*sigh* I do believe that is much better.
I started off stamping the sentiment and punching it out. I wanted just a little color to define the edges of the patterned paper, so I just ran the edge of the paper over the ink pad.

I attached the patterned paper (3" x 3", then cut into 1" strips) onto a piece of Very Vanilla (3 1/4" x 4 1/2").
Then attached this layer to a piece of Soft Suede (4" x 5 1/4"), then finished it off by attaching the Soft Suede onto the card base of Very Vanilla (4 1/4"x5 1/2", which is an 8 1/2" x 11" cardstock cut in half).

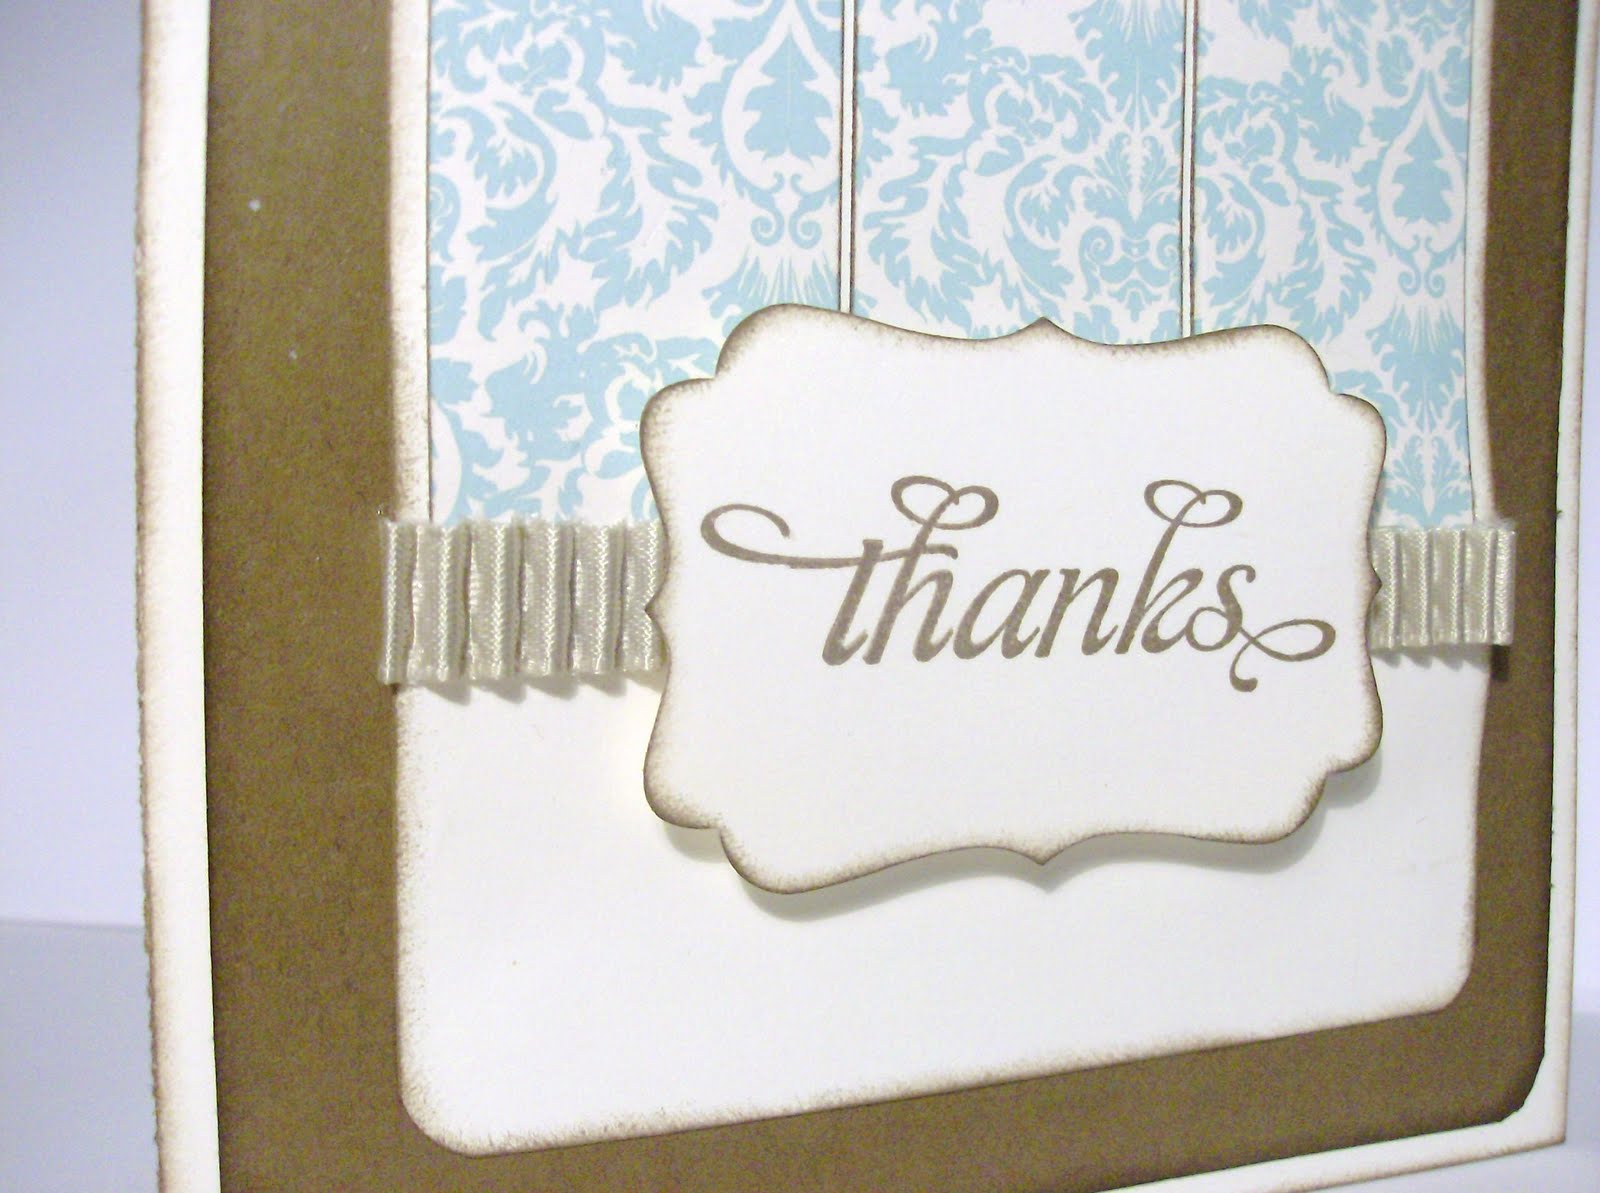
(I realized at 10 p.m. last night as I was writing this post, that I focused on the Thanks card and not the sympathy card. That's what I get for staying up past my bedtime. lol)
Cardstock - Very Vanilla (card base 4 1/4"x51/2", Soft Suede
Ink - Soft Suede
Stamps - Thank You Kindly
(sympathy stamp is from a local craft store)
Patterned Paper - Spring Silhouettes (3"x3", then cut into 1" strips)
Ribbon - Beachfront
(ribbon in first picture was given to me)
Punch - Decorative Label, Corner Rounder
Friday, June 10, 2011
I'm Lovin It - Ceramic Tiles
I experimented a little further with this crazy idea my aunt had. I learned from the World Wide Web that I should spray some Clear Lacquer over the tiles when I am finished making them pretty.
Trust me, you should too.
Sometimes my ink would smudge. Sometimes not. I think it had to do with using the embossing powders. Or not using them. I can't afford to keep buying embossing powder if I am going to make alot of these (which I fully intend on doing).
Warning: that stuff stinks!!
So here are the finished magnets, ready to be mailed to my friend for her birthday. (yes, I know the picture quality is bad, I am still searching for my camera)


I am linking this up to Tidymom and her I'm Lovin' It Friday post.
Monday, June 6, 2011
Do I need to add ceramic to my headline box up there?
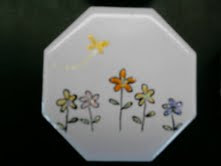
My aunt wanted to play with ceramic tiles. These are total experiments. We made several but I didn't really like anything that I made.
Except these two little cuties. :-)

Used black ink on the flowers, and colored them in with Stickles.
Used red ink on the other one, and tried to add just a touch of Stickles by running the bottle tip along the lines of the heart image, but not pushing hard on the bottle....I wanted just a "touch" of glittery goodness on there.
Glued a magnet on the back, and now they are on my fridge.
Note: Heat set the ink before adding Stickles. You can't see it in this picture, but the heart lines are a little smudged where the Stickles are.
Another Note: My loving daughter has "misplaced" my camera, so I get to post these blurry cell phone pics. *sigh*
ink: SU Basic Black, SU Real Red
Stickles
ceramic tiles from Lowes
heat gun
Wednesday, May 4, 2011
Hello from Pendant Park
*waves* Hello!
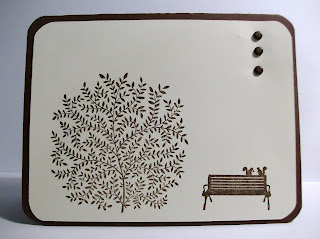
A simple (you know I like simple) card to say "hello".
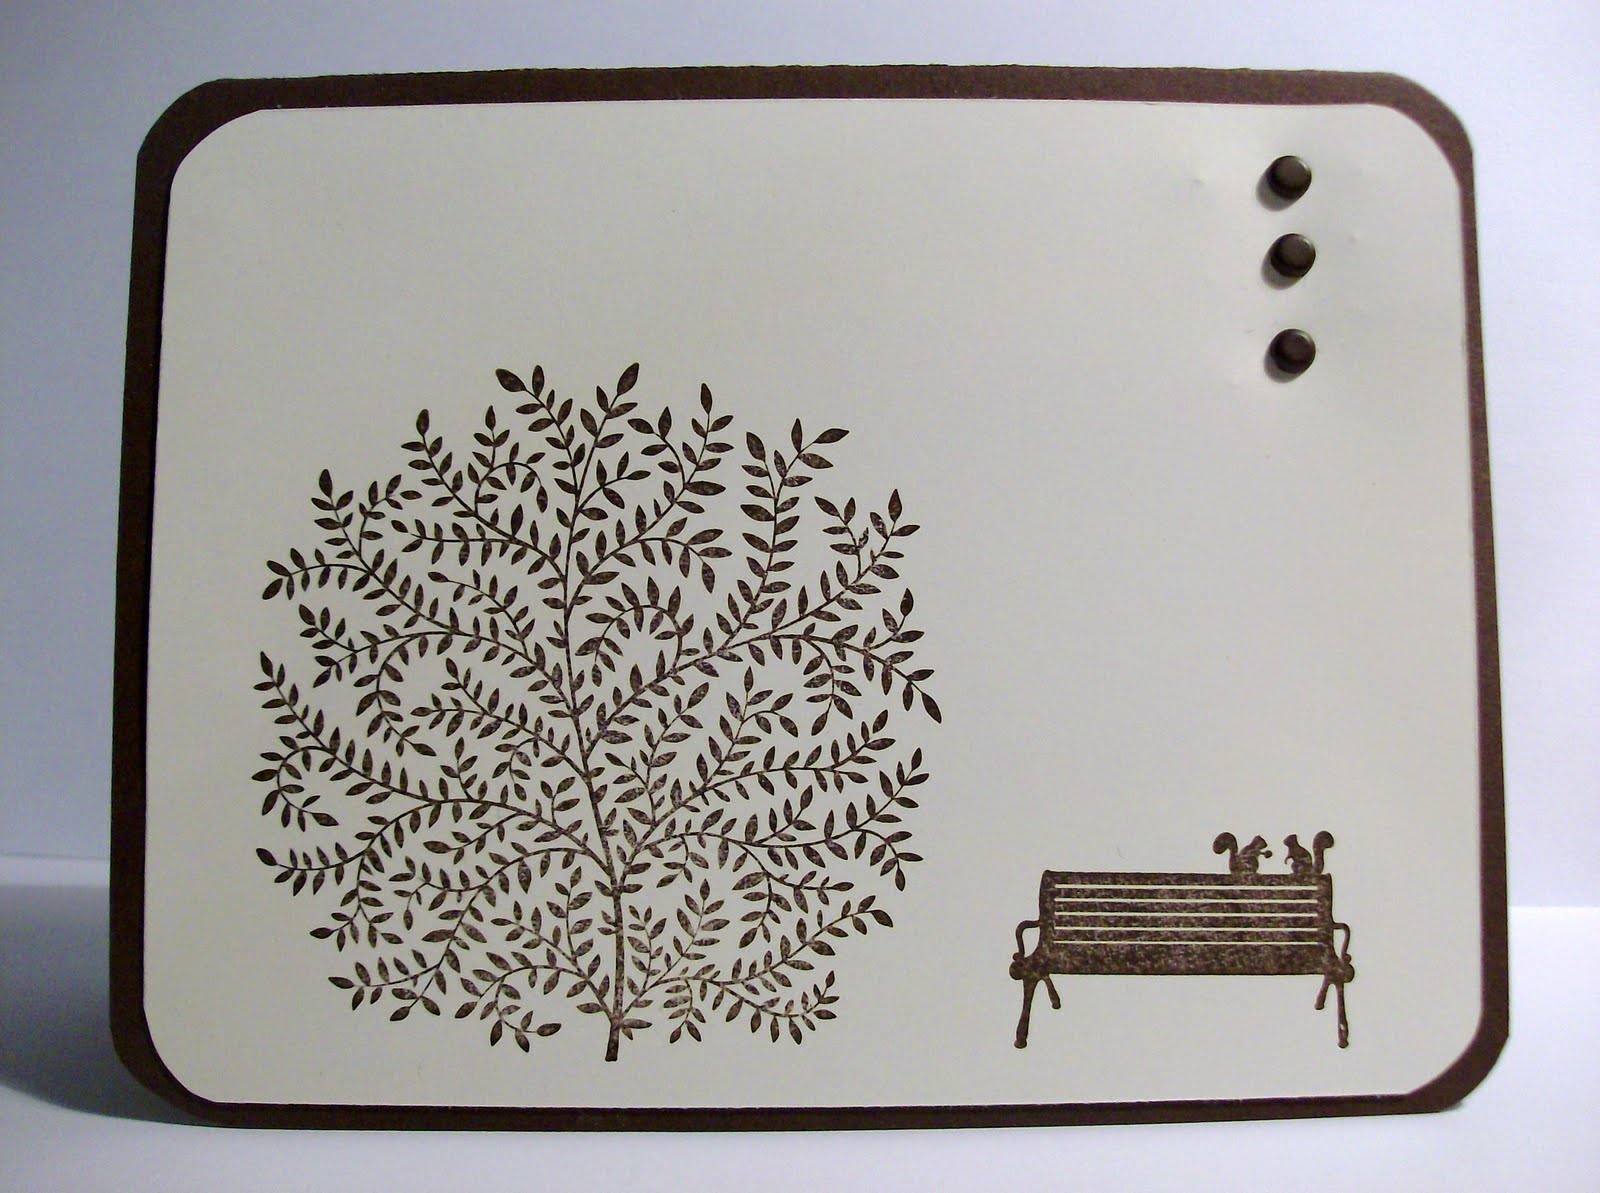
I don't like my brads, pushed too hard to try to get them to lay flat, so you can see the points of the brad in the cardstock. Oh well, this is for me to keep. :-)
cardstock: Stampin UP Chocolate Chip, Very Vanilla
ink: SU Chocolate Chip
stamp: SU Pendant ParkTuesday, April 19, 2011
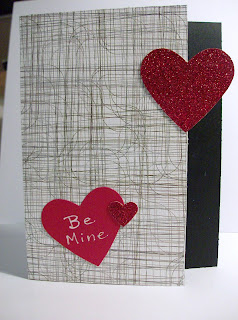
Be Mine
I was picking up some birthday wrapping paper at a local store and a card caught my eye.
On the front it said


On the front it said

On the inside it said

Simple at it's best.
I changed the colors and layout from the card I noticed in the store, but I used the sentiment.
I trimmed the edge of the card, so that the heart would stand out against the black. It was real hard to get a good picture. Hope you can see it. (and excuse the handwriting, my penmanship is horrible, LOL)
I think this works well for a guy card.
~ ~ ~ ~ ~ ~ ~ ~ ~ ~ ~ ~ ~ ~ ~ ~
I am adding this to Tip Junkie Handmade Projects.
cardstock, patterned paper, glitter paper all from local craft store.
punches used are from Stampin UP
Monday, April 11, 2011
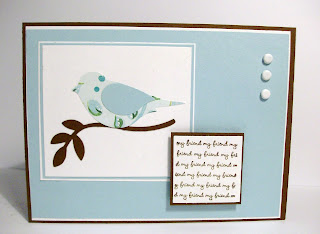
Blue Bird
of Happiness? Sure why not. :-)
This card makes me happy, how about you??

This card makes me happy, how about you??

Changed it up a little bit. Still happy??
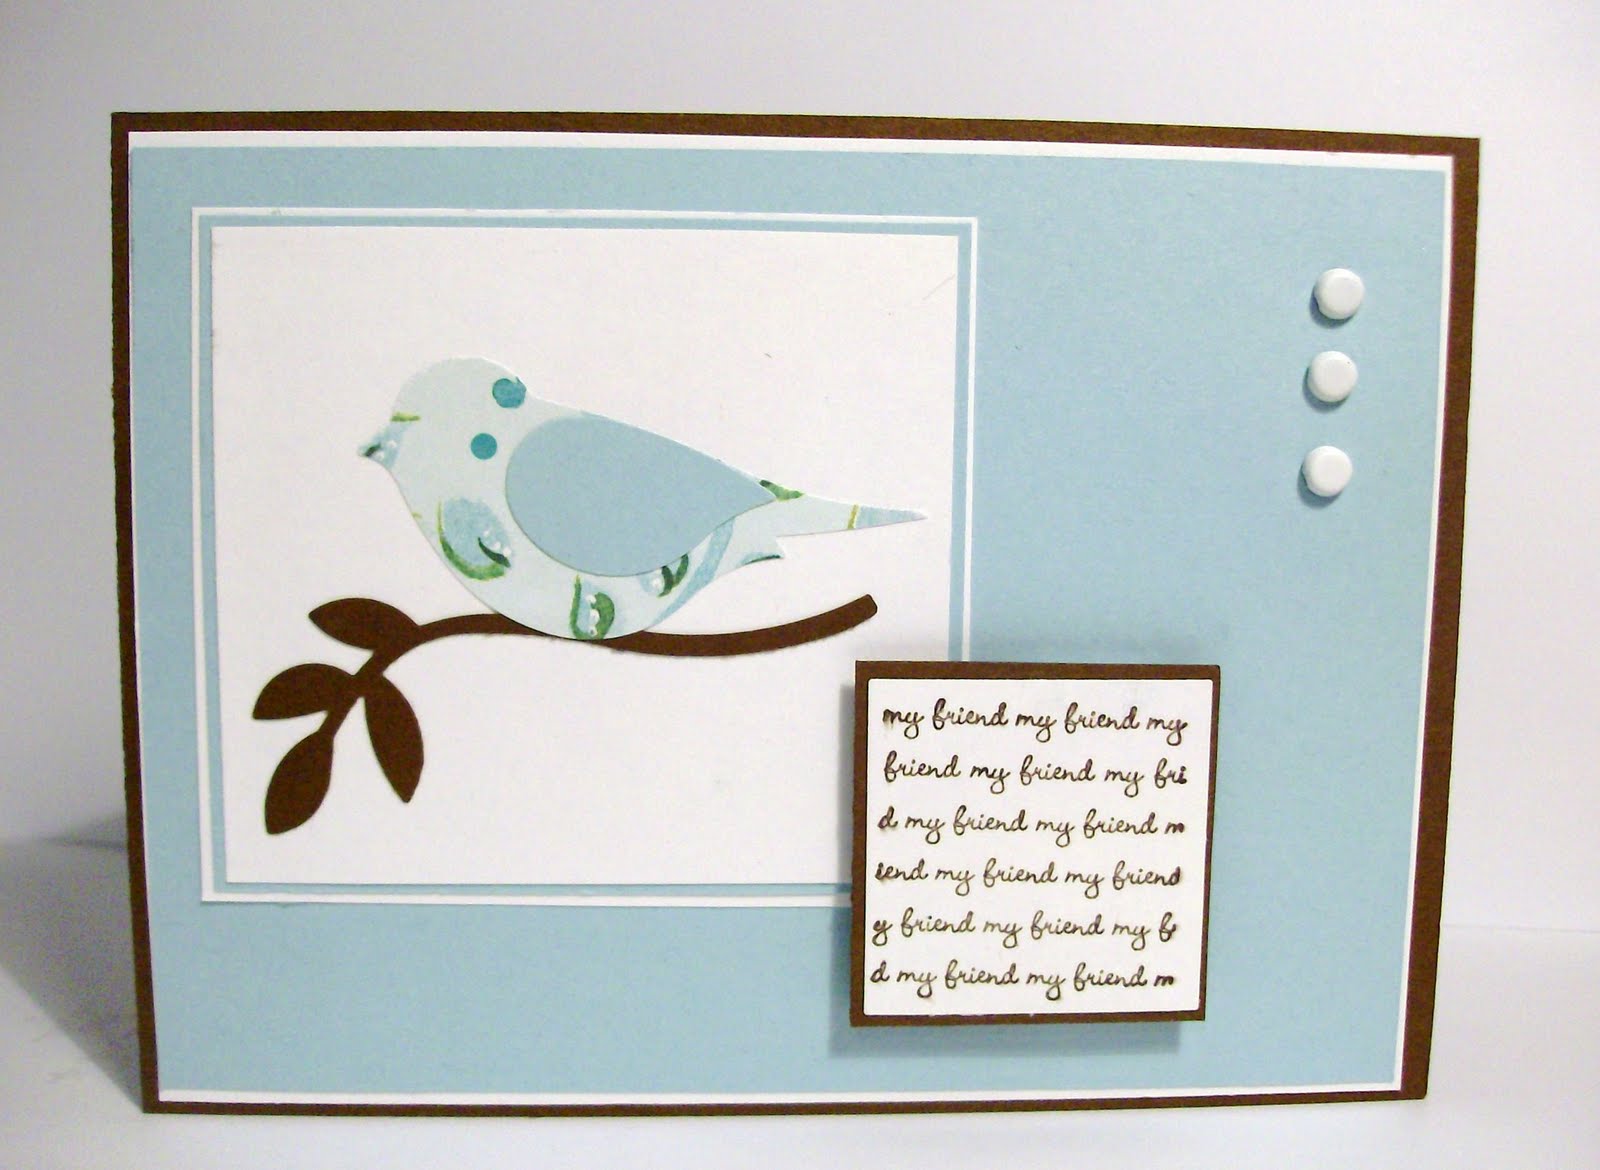
I think so.
(although, I think I should have inked the edges of the bird. agree?)
Thursday, March 17, 2011
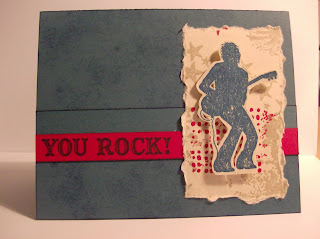
You Rock to the Extreme
LOL. Catchy title huh? I like how this card turned out. I was inspired by the card on page 89 in the SU 2010/2011 catalog.
Using one of my favorite stamp sets from SU, Extreme Elements.
Using one of my favorite stamp sets from SU, Extreme Elements.

(sorry about the lighting)
A very simple but effective technique that I like to use is wading up a small amount of tissue paper, then dabbing it on the ink pad, then dabbing the inked tissue paper onto the cardstock. You like?? I do.
On this card, I did that for the card base but not the strip behind the Real Red strip of cardstock.
cardstock: Stampin UP Not Quite Navy, Real Red, Crumb Cake
ink: SU Not Quite Navy, Real Red, Crumb Cake
stamp: SU Extreme Elements, Extreme Guitar, Just JawingWednesday, February 23, 2011
Another Sock Monkey Card
I don't think I will ever get tired of Sock Monkey from SU. Luv him!


other: Stickles, SU Pastels and Real Red Marker, SU ribbon


cardstock: Stampin UP Real Red and Kraft
ink: SU Chocolate Chip
stamp: SU Sock Monkeyother: Stickles, SU Pastels and Real Red Marker, SU ribbon
Sihlouette Giveaway
Head on over to The DIY Showoff Blog and enter for your chance to win a Sihlouette!

Oh the things I could make with a Sihlouette! And now they have frosted vinyl. Now that is cool!
Tuesday, February 8, 2011
Moved
Not really, but sorta'.
Had problems with email addresses (had to many), kept getting confused and what not, so I am downsizing, deleting, purging and trying to get organized with all this internet stuff.
So, I lost my Google Followers. Sorry. But if you find this blog somehow, go ahead and follow. I don't bite. Promise!
:-)
Subscribe to:
Comments (Atom)